Part 0 - Installation
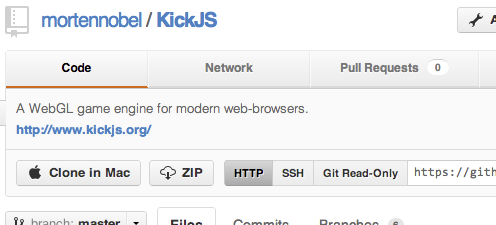
KickJS can be downloaded from (either as zip-file – or you can clone the repository):
https://github.com/mortennobel/KickJS
To use KickJS in a project, you need to use the JavaScript library found in the build folder. Note that the library exists in two versions:
- kick.js: This is the minified version of KickJS. Several runtime checks has been disabled to increase runtime performance. This version should be used in production environments.
- kick-debug.js: This is the uncompressed version of KickJS. It has several built-in checks that logs an error whenever the library is used incorrect. This version should be used during development.
Besides KickJS you need a WebGL capable browser. You can get more info here:
http://get.webgl.org/
KICKJS depends on RequireJS (http://requirejs.org/) for loading JavaScript files and modules. RequireJS can be configured in multiple ways, but the code below shows a simple setup. The code snippet assumes that require.js and kick-debug.js is located in the same location as the html-file. All the code-snippet does is loading the engine and printing out the version.
<html>
<body>
<canvas id="3dCanvas" width="50" height="50"></canvas>

<script src="require.js"></script>
<script type="text/javascript">
 var req = require.config({
    paths: {
        kick: 'kick-debug'
    }
 });
 req(['kick'],
    function (kick) {
        // init engine (create 3d context)
        var engine = new kick.core.Engine('3dCanvas');
        document.body.appendChild(document.createTextNode("Engine loaded. KickJS "+engine.version));
    }
 );
</script>

</body>
</html>
The code snippet above creates a debug context (useful for development). For a release version of the engine replace 'kick-debug' with 'kick'.
For the rest of the tutorial we assume that you already have loaded the kick module using RequireJS.
